SLA Printer – Starting your First Print – Pt03 3D Printing Basics

How to do your first resin print
SLA Printer Full Guide

Instructions

Well, in today’s article we’ll be going over what you need to know, so you can start printing as soon as possible.  

For this video, we’re going to assume that you’ve already levelled your build plate according to your machine’s instructions. And since calibration can take a while, that’ll be covered in a more in depth video later on.  For now, however, we’re going to use the recommended manufacturer settings for the resin that you purchased, since in most cases this will be a good starting point.

So to start things off we’re going to need an epic file to 3d print and these come in a variety of formats.  The most common of which is the SLT file format that you see here.  This format has remained pretty much unchanged from its initial commercial adoption in 1987. Other common file formats include OBJ and 3MF and are compatible with most slicing software packages.  I like many other creators online, I get these files from a variety of sources or make their own, but the main ones are Thinginverse and GrabCad. In order to take this files and print them, they first need to be compiled into a language that the printer can understand and this is where software like Chitubox, Prusa Slicer, lychee and many more come into play. These pieces of software turn the 3d objects into slices, which can then be printed in steps by the 3d printer of choice. Unlike an FDM printer, LCD printers print one full layer at a time, making it generally more efficient to fill the build plate.

Before opening up a 3d file, you’ll first want to set up your machine settings and get it calibrated. In Chitubox the free version, you can do this by going to “Settings” + click on the “Add New Printer” button and select from either a preexisting profile or set up your own instead. You’ll then need to set up your print settings for your material. Most resin and 3d printer manufacturers provide some suggested settings which are available online and while these are a good starting point you’ll most likely have to tweak these to get better results.   Each resin, even if it’s from the same manufacturer, will have its own settings and each 3d printer will behave slightly differently, which is why these settings are generally just a starting point. 

The slicer will allow you to see your model in a virtual representation of your build plate where you will be allowed to manipulate its dimensions, orientation and much more. Once we’ve imported the file, we’ll need to orient it so that it has enough support from the peel forces. These forces are created when the build plate lifts and away from the FEP sheet. A common practice is to hollow out the model to save on resin, and while this does help quite a bit, it also increases the peel forces by create a pocket in which the pressure can build up.  It’s for this reason that we’ll need to do two things with this model before we can start printing. First, we’re going to orient it in such a way as to reduce the amount of forces being applied while also reducing the amount of support that’s needed. While this can normally be a 45-degree angle, this will depend on the size and shape of your model. For example, the custom key caps that I make have very little peel force being applied, and I can actually print them almost entirely flat. My “Peel Villain however requires it to be printed at an angle, even with the giant drainage hole. To keep the print attached to the build plate, we add support material. These supports have a crucial role in making sure that every point on the model is connected to the build plate to prevent the prints from becoming dislodged.  Printing unsupported portions could damage your printer by puncturing the FEP sheet or damaging the LCD. If you hollow out your model, you’ll also need to consider at which points to add your drainage holes. The holes help relieve the pressure that builds up within the model itself, while also allowing excess resin to come out during the cleaning process. 

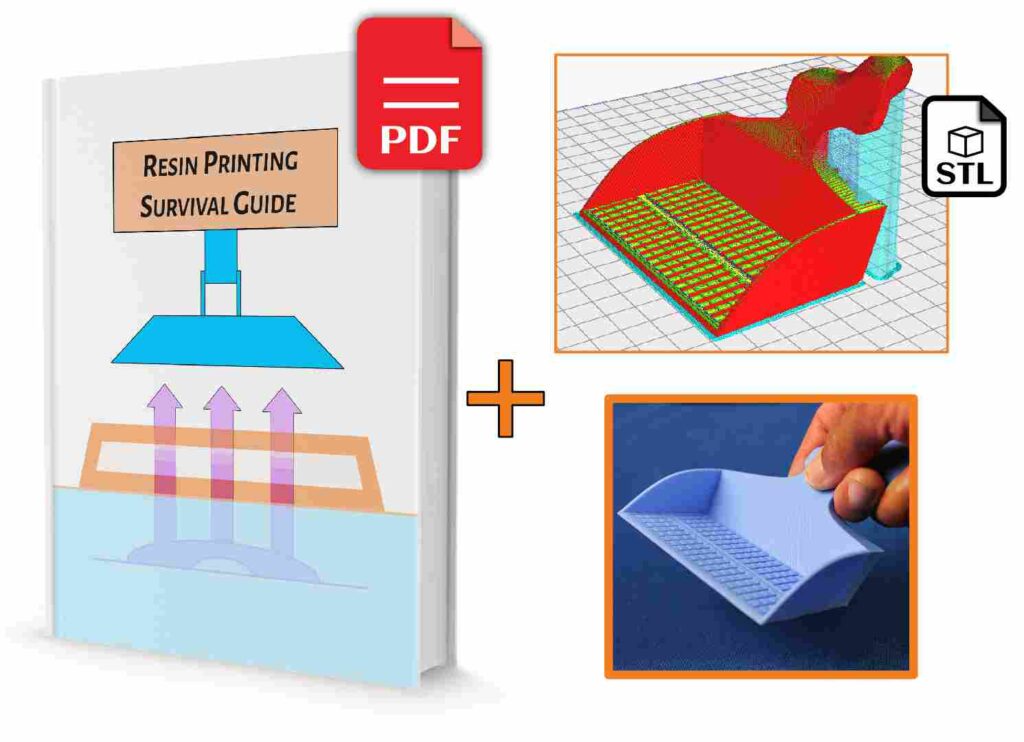
With our files properly set up, we can now begin slicing them into a format that our printer can understand. If you’re using an existing configuration, the correct file format should already be selected. You’ll then be able to save your file onto a USB drive or send it to your printer via Wi-Fi. After that, it’s a simple question of selecting your model and printing it. Before you print your files, you’re going to want to make sure that you don’t have any debris that’s left over in the vat, since these could easily damage your LCD or FEP sheet. Once you’ve finished printing, you can then begin cleaning your print and curing it. It’s much easier to clean the resin print with isopropyl alcohol or an alternative resin cleaner, followed by the removal of the support material. At this stage, you may notice that your prints are still not quite solid, and this is because they require some additional curing. You can either cure them in the sunlight or use a UV curing station for this purpose. Either one will work.  If you want to know more, I have a PDF guide for resin printing that’s available on my website.  This guide includes diagrams and additional information on the whole process to make it easier for newcomers.

Personal Notes

Article notes

  • Find and STL, 3MF or OBJ file to print
  • Install + Setup Slicer for Printer
  • Import file
  • Orient + Hollow + Support Model
  • Slice File + Save to USB
  • Print file on Machine

Recommended Reading

© Yarkspiri Fantasy Art
SLA Printer – How to Do it Safely! – Pt 02 3D Printing Basics


This guide includes diagrams, FEP sheet replacement instructions, Parts and motherboard explanations, troubleshooting tricks, cleaning, maintenance, settings, firmware + Bonus Resin Scoop and much more.

Instructions

So your new 3D printer just came in the mail, but do you know how to use it safely?  It today’s article, we’ll discuss what you need to know in order to use your SLA printer safely.  This video is a follow-up to the previous SLA printing Basics article.

To begin, it’s very important to know that even if you’re using a plant based resin, they do still contain products which can trigger severe allergic reactions after prolong exposure. This exposure includes both the vapours and the liquids themselves, as well as their cleaning agents. Despite the fact that some have low amounts of odour, the fumes are still present in their environment, therefore proper precautions are still necessary. While new products are being developed by many companies to address these issues, it is best to treat them as the chemicals that they are. Waste disposal is a very common issues for those new to this hobby, as it can often be overlooked and can cause serious long term environmental impacts.

To better address any fumes from these products, it’s always best to have a well ventilated area with a constant supply of clean air, and there are a couple of ways to do this. The first is having ventilation going to the outside and while this is very efficient it may not be possible in colder environments. I personally use multiple carbon filter’s both within my machines and on the outside to help mitigate these issues. This, alongside a slightly open window in my work areas, helps to maintain a supply of clean fresh air. By making sure to keep the cover on your machine closed, and dealing with any liquid messes properly, you can maintain a much safer environment. This can be especially true if you have children or pets. In this case, you should always have these machines in a secured location to prevent any accidental exposure.

When it comes to the handling of the resin liquid itself, safety glasses and gloves are a must-have. I use two different types in my workflow. I use disposable ones when I’m working on something that requires more hand dexterity, and I use re-usable long sleeved rubber gloves for the basic print remove process. Likewise, I find that hanging this above my silicone mat helps keep a cleaner environment, especially if I clean the gloves prior to hanging them. By using a piece of paper tower, I can easily remove these without touching the top rim and can hang these safely. If you happen to get it on your skin, make sure to clean the area thoroughly with soap and water. To clean up any messes, I will use paper towels, making sure to place these out in the sun to cure any leftover resin. Because UV resin is cured in sunlight, you may wish to protect your machine from any of the sunlight coming from the window itself. I use blackout curtains and have an additional curtain around my work area to help mitigate the issue. IF you’re living in a location where you don’t have access to reliable sunlight, you can use a metal bucket and suspend a UV light above it to cure any unwanted resin. I got this one at my local hardware store and picked up this barbecue rack which works great for suspending the UV light. I go through a lot of paper towels for clean up, so I generally try to do larger batches to make my workflow more efficient. Having a paper towel dispenser makes a big difference when your gloves are covered in resin, and I would highly recommend either 3d printing one use using one that’s pre-made for this purpose.

As for cleaning up any messes that you may have, in most cases you’re going to use 99% isopropyl alcohol if possible. While you can use up to 70% it’s normally a better value to get the higher concentration and dilute it yourself. Although you can now buy less toxic alternatives, you’ll most likely want to keep using isopropyl alcohol for the cleaning of your work area, since it doesn’t leave any residue and dries quickly. For cleaning your prints, isopropyl alcohol can be reused several times if allowed to sit and separate. You can use a siphon pump to remove the clean isopropyl alcohol from the top of your container and dispose of the dirty material by letting it cure in the sunlight. To make your clean-up easier in the long term, I personally use multiple silicone dog mats, which I’ve placed in all of my work areas. Because the resin doesn’t stick to it’s surface, it makes cleanup a lot easier overall.

Now, It’s important that I tell you that some of these 3d printers have tinned connections at their terminals. This is something which I’ve actively warned user’s about and is something you may wish to check on your machine. Some companies have started taking a proactive approach with this and have been removing the tinned portions or replacing these with proper connection and ferrules, however some companies have yet to do so. I’ve noticed that some of the more recent machines from both Anycubic and Elegoo have addressed some of these, but I would do some additional research to see if that’s the case with your machine. You can see my full safety article here about what to look out for in some of the most common 3d printers.

Personal Notes

Ventilation

  • Greenhouse Carbon filters
  • Small internal Carbon Filters
  • Window Ventilation

PPE materials

  • Disposable Gloves
  • Re-usable Gloves
  • 99% isopropyl alcohol (70% min Recommended)
  • Protective Glasses

Commissions Now Open


I will 3D model a character or monster and ship it to you once it’s been 3D printed. As an extra bonus, I will also create an 8 x10 print (printed on 8 1/2 x 11 paper) of the 3D model. If you need the concept art also, I have an option for that as well on my Fiverr account.

Exit mobile version