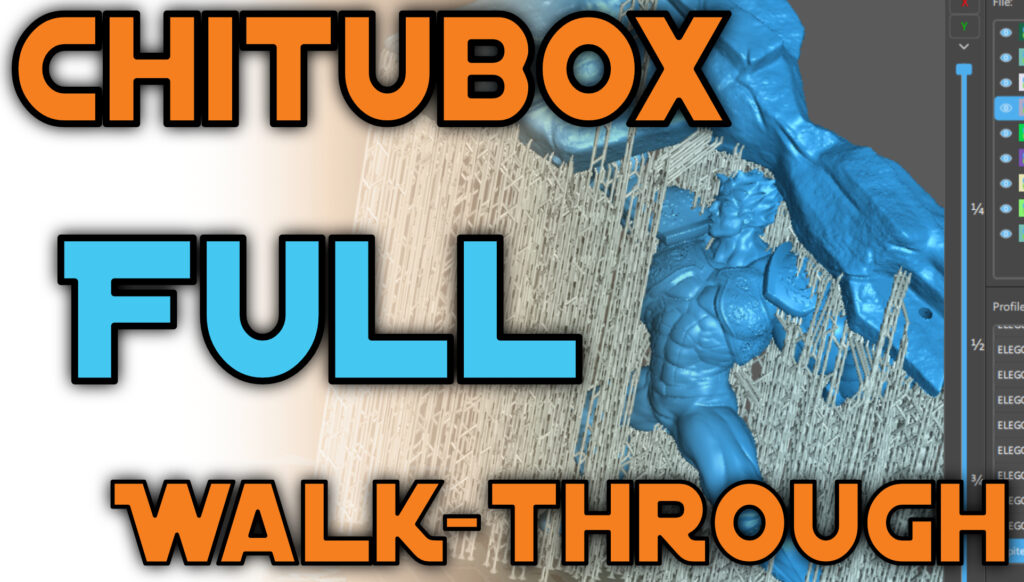
Sla Printer – Print Flat Vs Angled
Index
- Instructions
- Notes
- Recommended Articles
So you’re just learning to 3D print, but some people are telling you to print flat, while others say to print on an angle. Today we’ll go over each of these and give you information you need to make your decision.
As discussed in the previous video, the orientation of the model plays a large role in both the type of supports that are needed and their number, but there are two main types to keep in mind. Some models can be placed flat on the build plate, while other’s must be printed at an angle. There are several main factors that will determine which technique is more appropriate to that specific model. These include the amount of surface area, size and shape.
While the size and the surface area may be closely related, they do represent two different criteria. The amount of surface area is generally determined by the flat surface that will be placed on the build plate, along with whether the model can be hollowed out while preserving the desired physical properties. For this character, it has quite a bit of surface area and would have created a lot of suction forces to contend with, therefore it was oriented to reduce the amount of suction and was also hallowed out.
The size is the overall scale that the print will printed at, and this does affect the amount of surface area. For smaller sized prints, these often don’t include very thick portions and rarely need to be hollowed out as a result. Smaller prints, will generally have to deal with less overall suction forces, allowing these to be printed flat if the shape allows for this. This Happy Tooth design didn’t require any supports whatsoever because of the modelled shape along with flat base. Since it was printed at a smaller scale, the suction forces were limited and didn’t pose a problem.
The shape normally includes detailed elements, which can have overhanging areas that may need additional supports in order to print properly. Models, such as miniatures, will often contain multiple overhangs and islands that need additional supports. In those cases, it’s quite common to print these on an angle and lifted from the build the plate. Functional or mechanical parts may not require as many supports, if any, in order to print successfully. The functional 3D prints can often benefit from being printed flat, should the overall surface area be limited. For these wolverine blades, I created custom supports that would easily be sawed off later, while making sure to orient the model upwards to reduce the amount of suction forces. In this case, I was able to print the model flat with a limited number of additional supports.
A big factor, to also consider, is the print bed adhesion. This portion is quite often overlooked by new user’s but plays a crucial role when printing an object flat. Ensuring a properly levelled bed is crucial for any success and should be the first thing a user checks. Items such as flex build plates can often make this task more difficult because of the small amount of flexing that occurs along the surface every time the build plate lifts away from the FEP sheet. There’s generally two ways to mitigate those issues. The first is to adjust first layer exposure settings. Increasing the first layer exposure will increase the adhesion to the build plate surface and should be the first approach to take. The second is to sand the surface periodically with 250 to 350 grit sandpaper, making sure to maintain a flat surface. Prior to attaching a flex build plate, I always recommend that you take a look at what you intend to use that machine for. If you’re going to use the printer for miniatures, then a flex build plate is often beneficial. If you plan to use the machine in a setting where tolerances are of the upmost impotence or for a variety of projects, it might be better to leave the plat as is for now.
With a better understanding of how and when to print your models flat vs angled, you probably have questions about setting up your supports, so we’ll go over the basics in this video here.
Notes
- Printed flat or angled
- Two factors = Size + Surface
- Smaller prints = Less suction forces + less surface area
- Greater suction forces = Greater print bed adhesion
- Flex build plate = Lower print bed adhesion (adjustment might have to be made)
Recommend Articles
Yasmeen completed both the 2D and 3D animation course at Algonquin College and worked in the animation industry as a freelancer for a number of years before being hired to manage the 3D printing services at ItsYeBoi. While using the Alias of "Jenny" during her services, she was responsible for the testing, maintenance and upgrading of the machine while also filming and developing 3D printable assets for various projects.

